
 Table of Contents
Webcam videos often contain unique content. It can be distressing to accidentally delete or lose some of these important items. Luckily, there are multiple methods you can use to perform deleted video recovery. We’re going to show you how to retrieve lost videos using built-in operating system features as well as dedicated video recovery software.
Before you attempt to recover the deleted videos you should perform the following two actions.
- ? Stop using the storage device that contained the lost videos until after they have been recovered. If you need to use the camera to save new videos, store them on a different device. When your main disk has lost the videos, you should stop saving any new information to your computer until you have recovered the file.
- ? Make sure the videos are really lost and not simply misplaced. Try to find the deleted videos by searching your computer and any external storage devices you use to store video content.
Recover Recently Deleted Videos Using the Recycle Bin/Trash
This is the first method you should try if you accidentally delete files from your computer. The Windows and Mac operating systems both include built-in functionality that protects users from accidentally deleting important files and folders. The developers understood the ease with which a file can be inadvertently deleted and provide users with a simple method to quickly get it back.
Both operating systems have special folders that hold recently deleted items for a designated length of time before permanently removing them from your machine.
Mac computers and the Trash
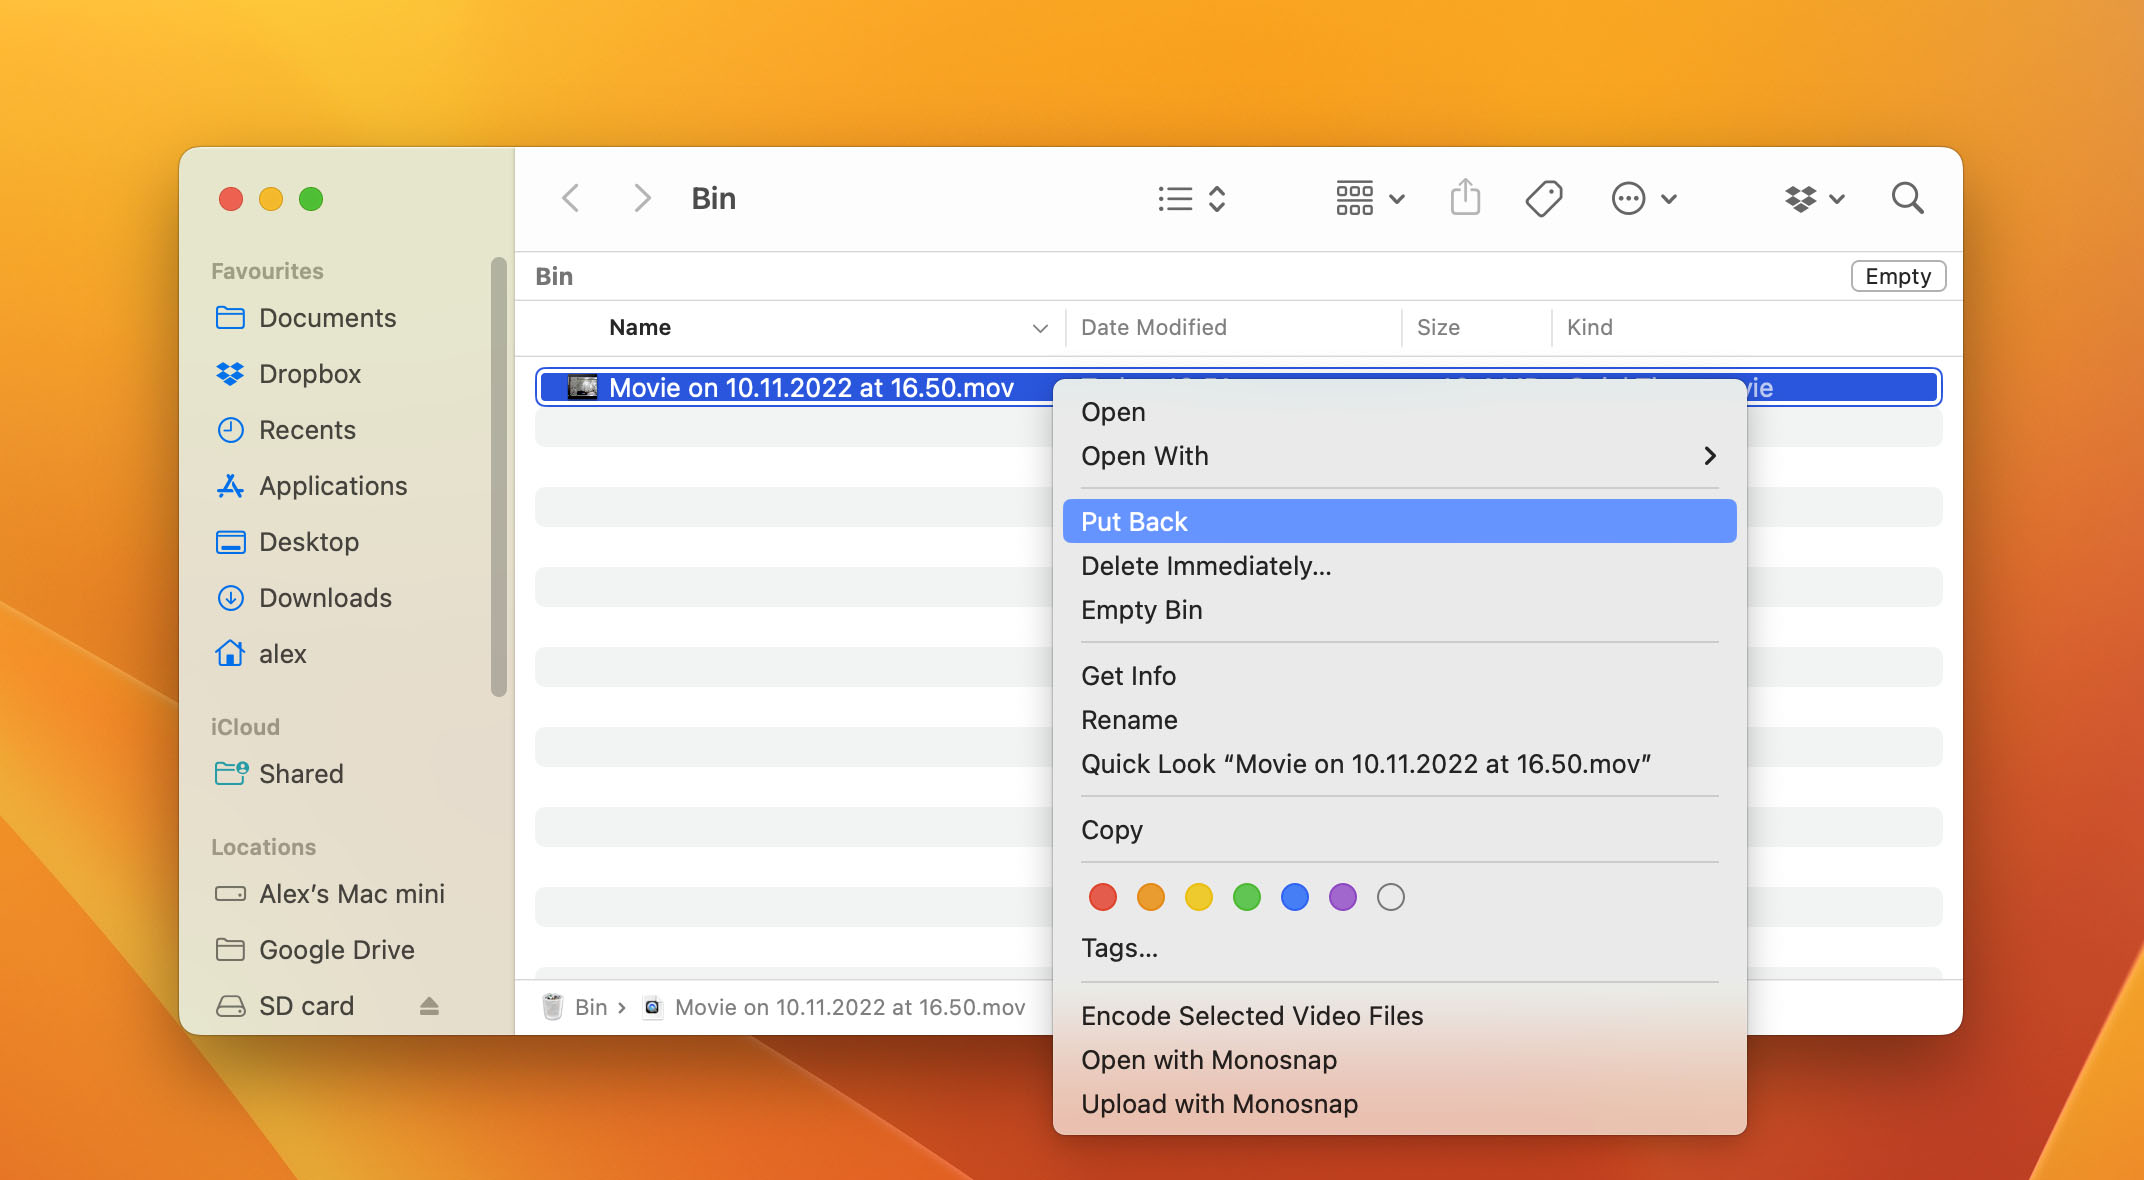
Mac users can get back lost videos from the Trash with the following procedure.
- Open the Trash by clicking its icon.
- Search for the video that you want to retrieve.
- Right-click on the item and select Put Back.
- The video will be recovered to its original location.

Windows computers and the Recycle Bin
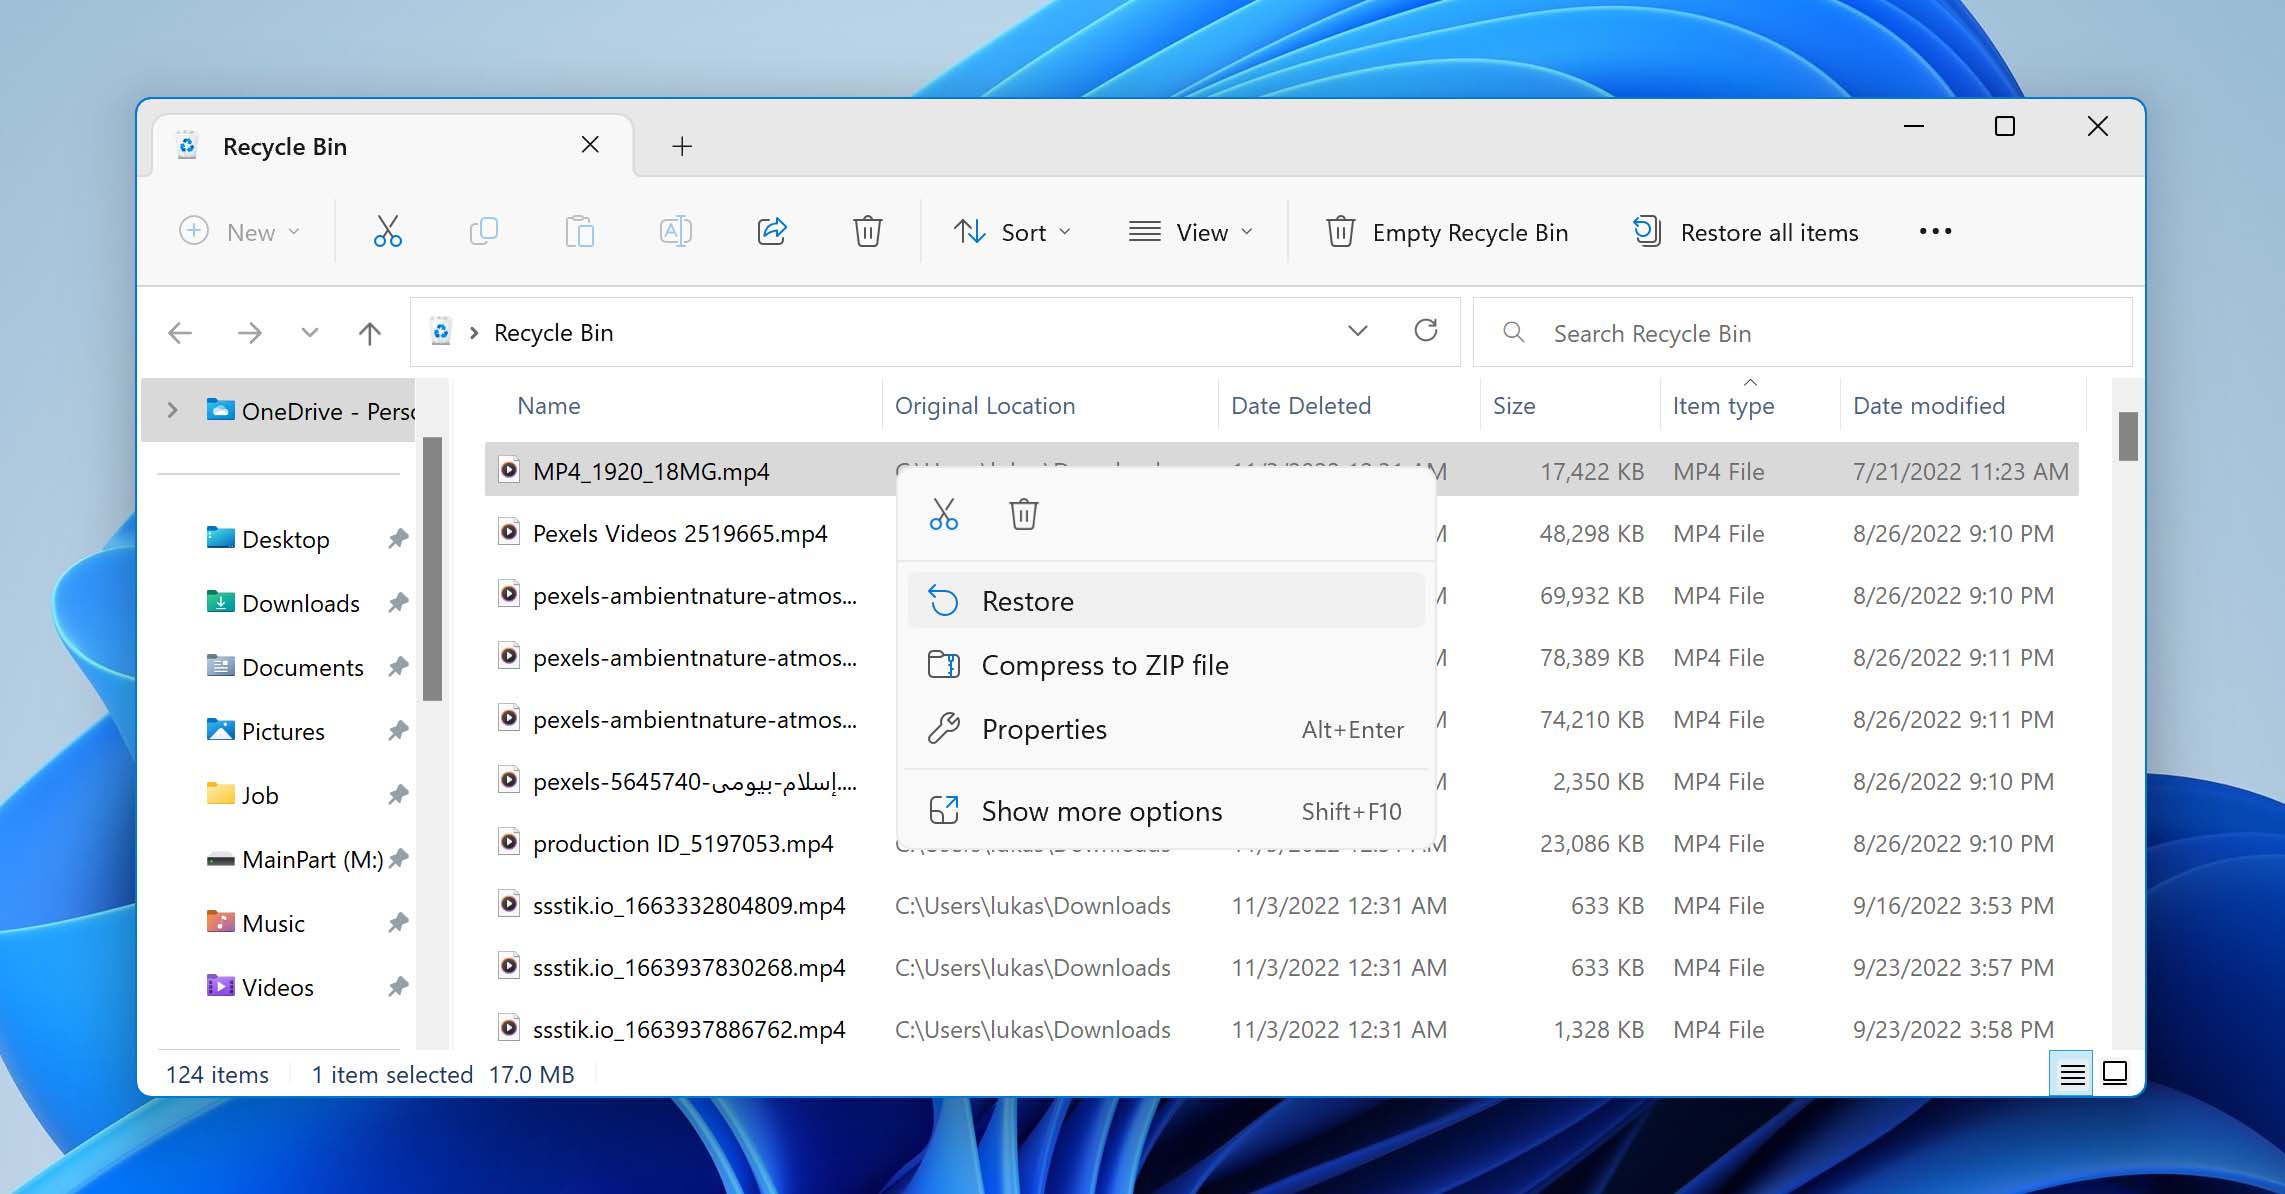
Windows machines have the Recycle Bin which stores recently deleted items. You can recover deleted files from the Recycle Bin with the following steps.
- Open the Recycle Bin by double-clicking its icon.
- Find the videos you want to retrieve.
- Check the box next to the items you want to recover.
- Right-click and select Restore to recover the videos to their original location.
Recovering Lost Webcam Videos with Video Recovery Software
Once the Trash or Recycle Bin have been emptied, the videos they contained are considered to have been permanently deleted. This is not completely true, as video recovery software can repair the logical links that are removed when a file is deleted.
Until the original file is overwritten with new data, recovery software can get it back. We’re going to show you how to recover permanently deleted videos using a specialized software application.
Data recovery software is the most effective method of recovering lost webcam videos. It can get back videos that have been deleted from the Trash or Recycle Bin or files that were not included in a backup. You can also use data recovery software to recover deleted files from a webcam’s onboard storage of an external storage device. You need the be sure to connect the device to your computer before performing the recovery.
We are going to present three of the best video recovery solutions on the market. You should evaluate the products and see which one best fits your needs. Factors like the OS you are using, the price, and support for the video formats you want to recover are essential.
Disk Drill
We like Disk Drill for its versatility and advanced quick and deep scanning capabilities. Versions of the software are available for the Windows and macOS operating systems. The free version of the tool identifies recoverable files on both platforms and can recover up to 500MB for free on Windows computers. Disk Drill provides additional free tools to help users manage and protect their valuable data.
The software offers users a simple and effective recovery procedure that requires the following steps.
- Download and install the software on a different disk than the one that contained the lost videos.
- If necessary, connect the external storage device that stored the files.
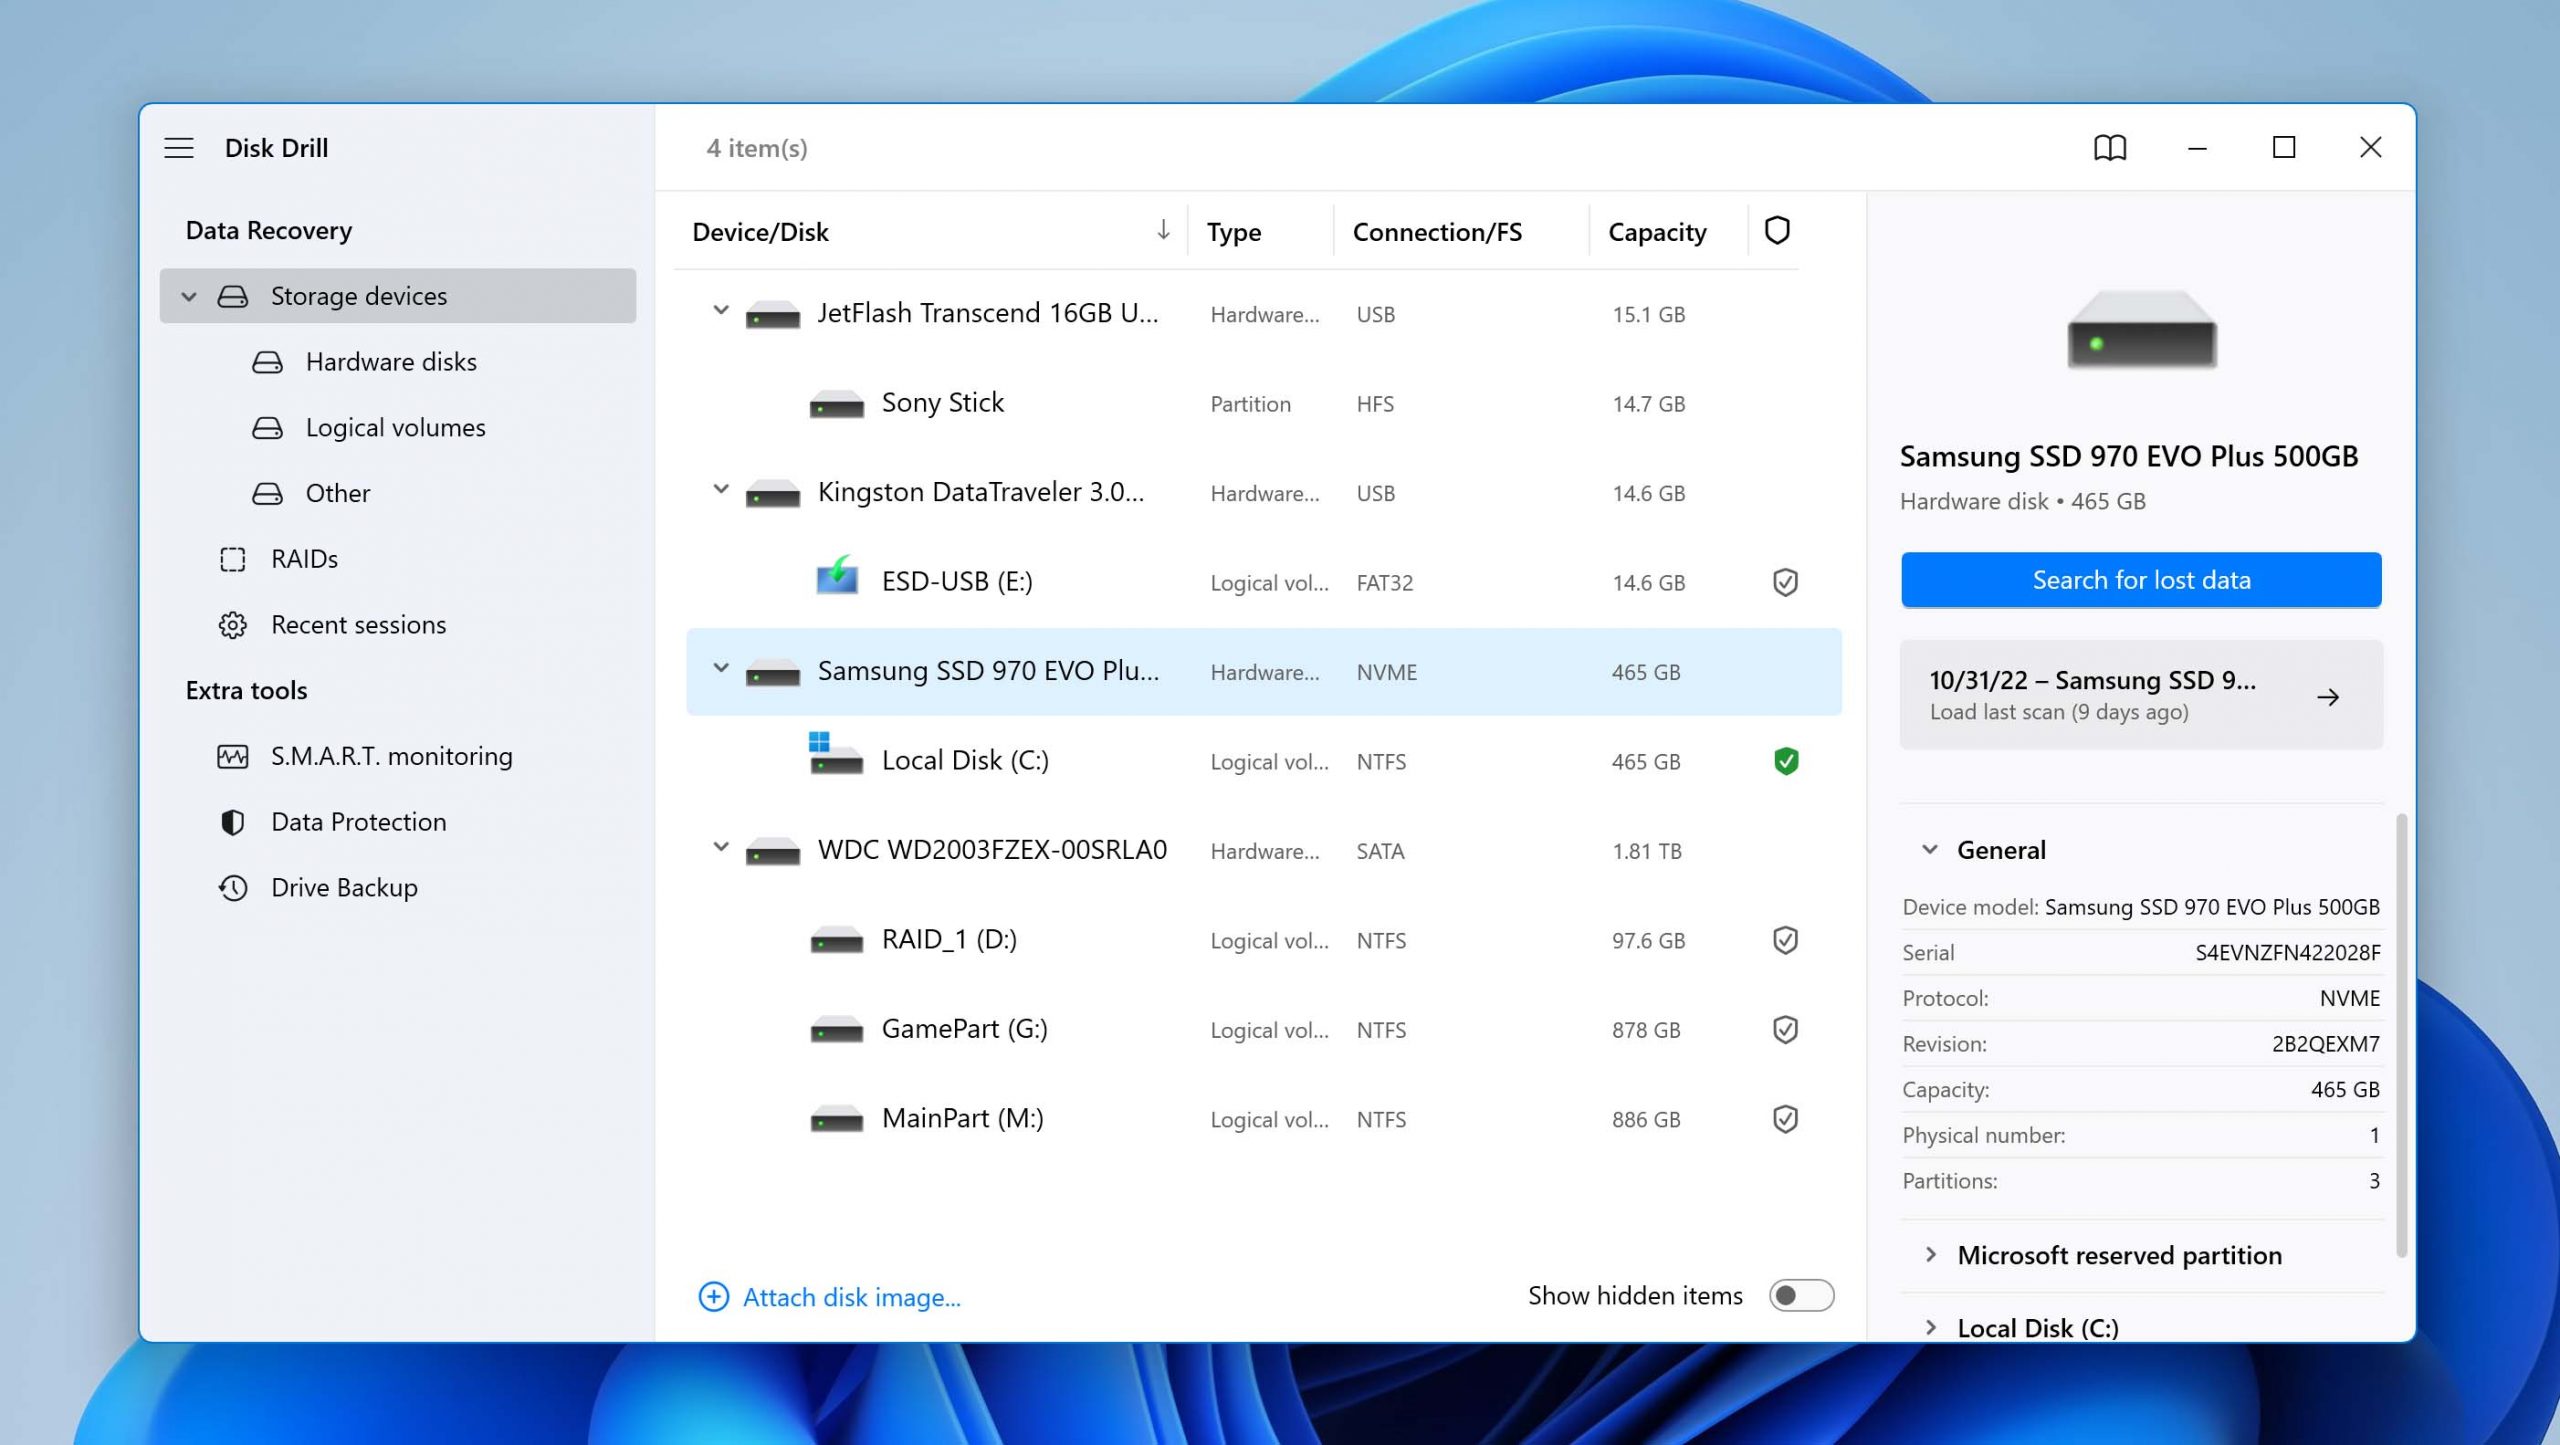
- Launch the app and select the disk with the lost videos.
- Click Search for lost data to scan the device for recoverable videos.
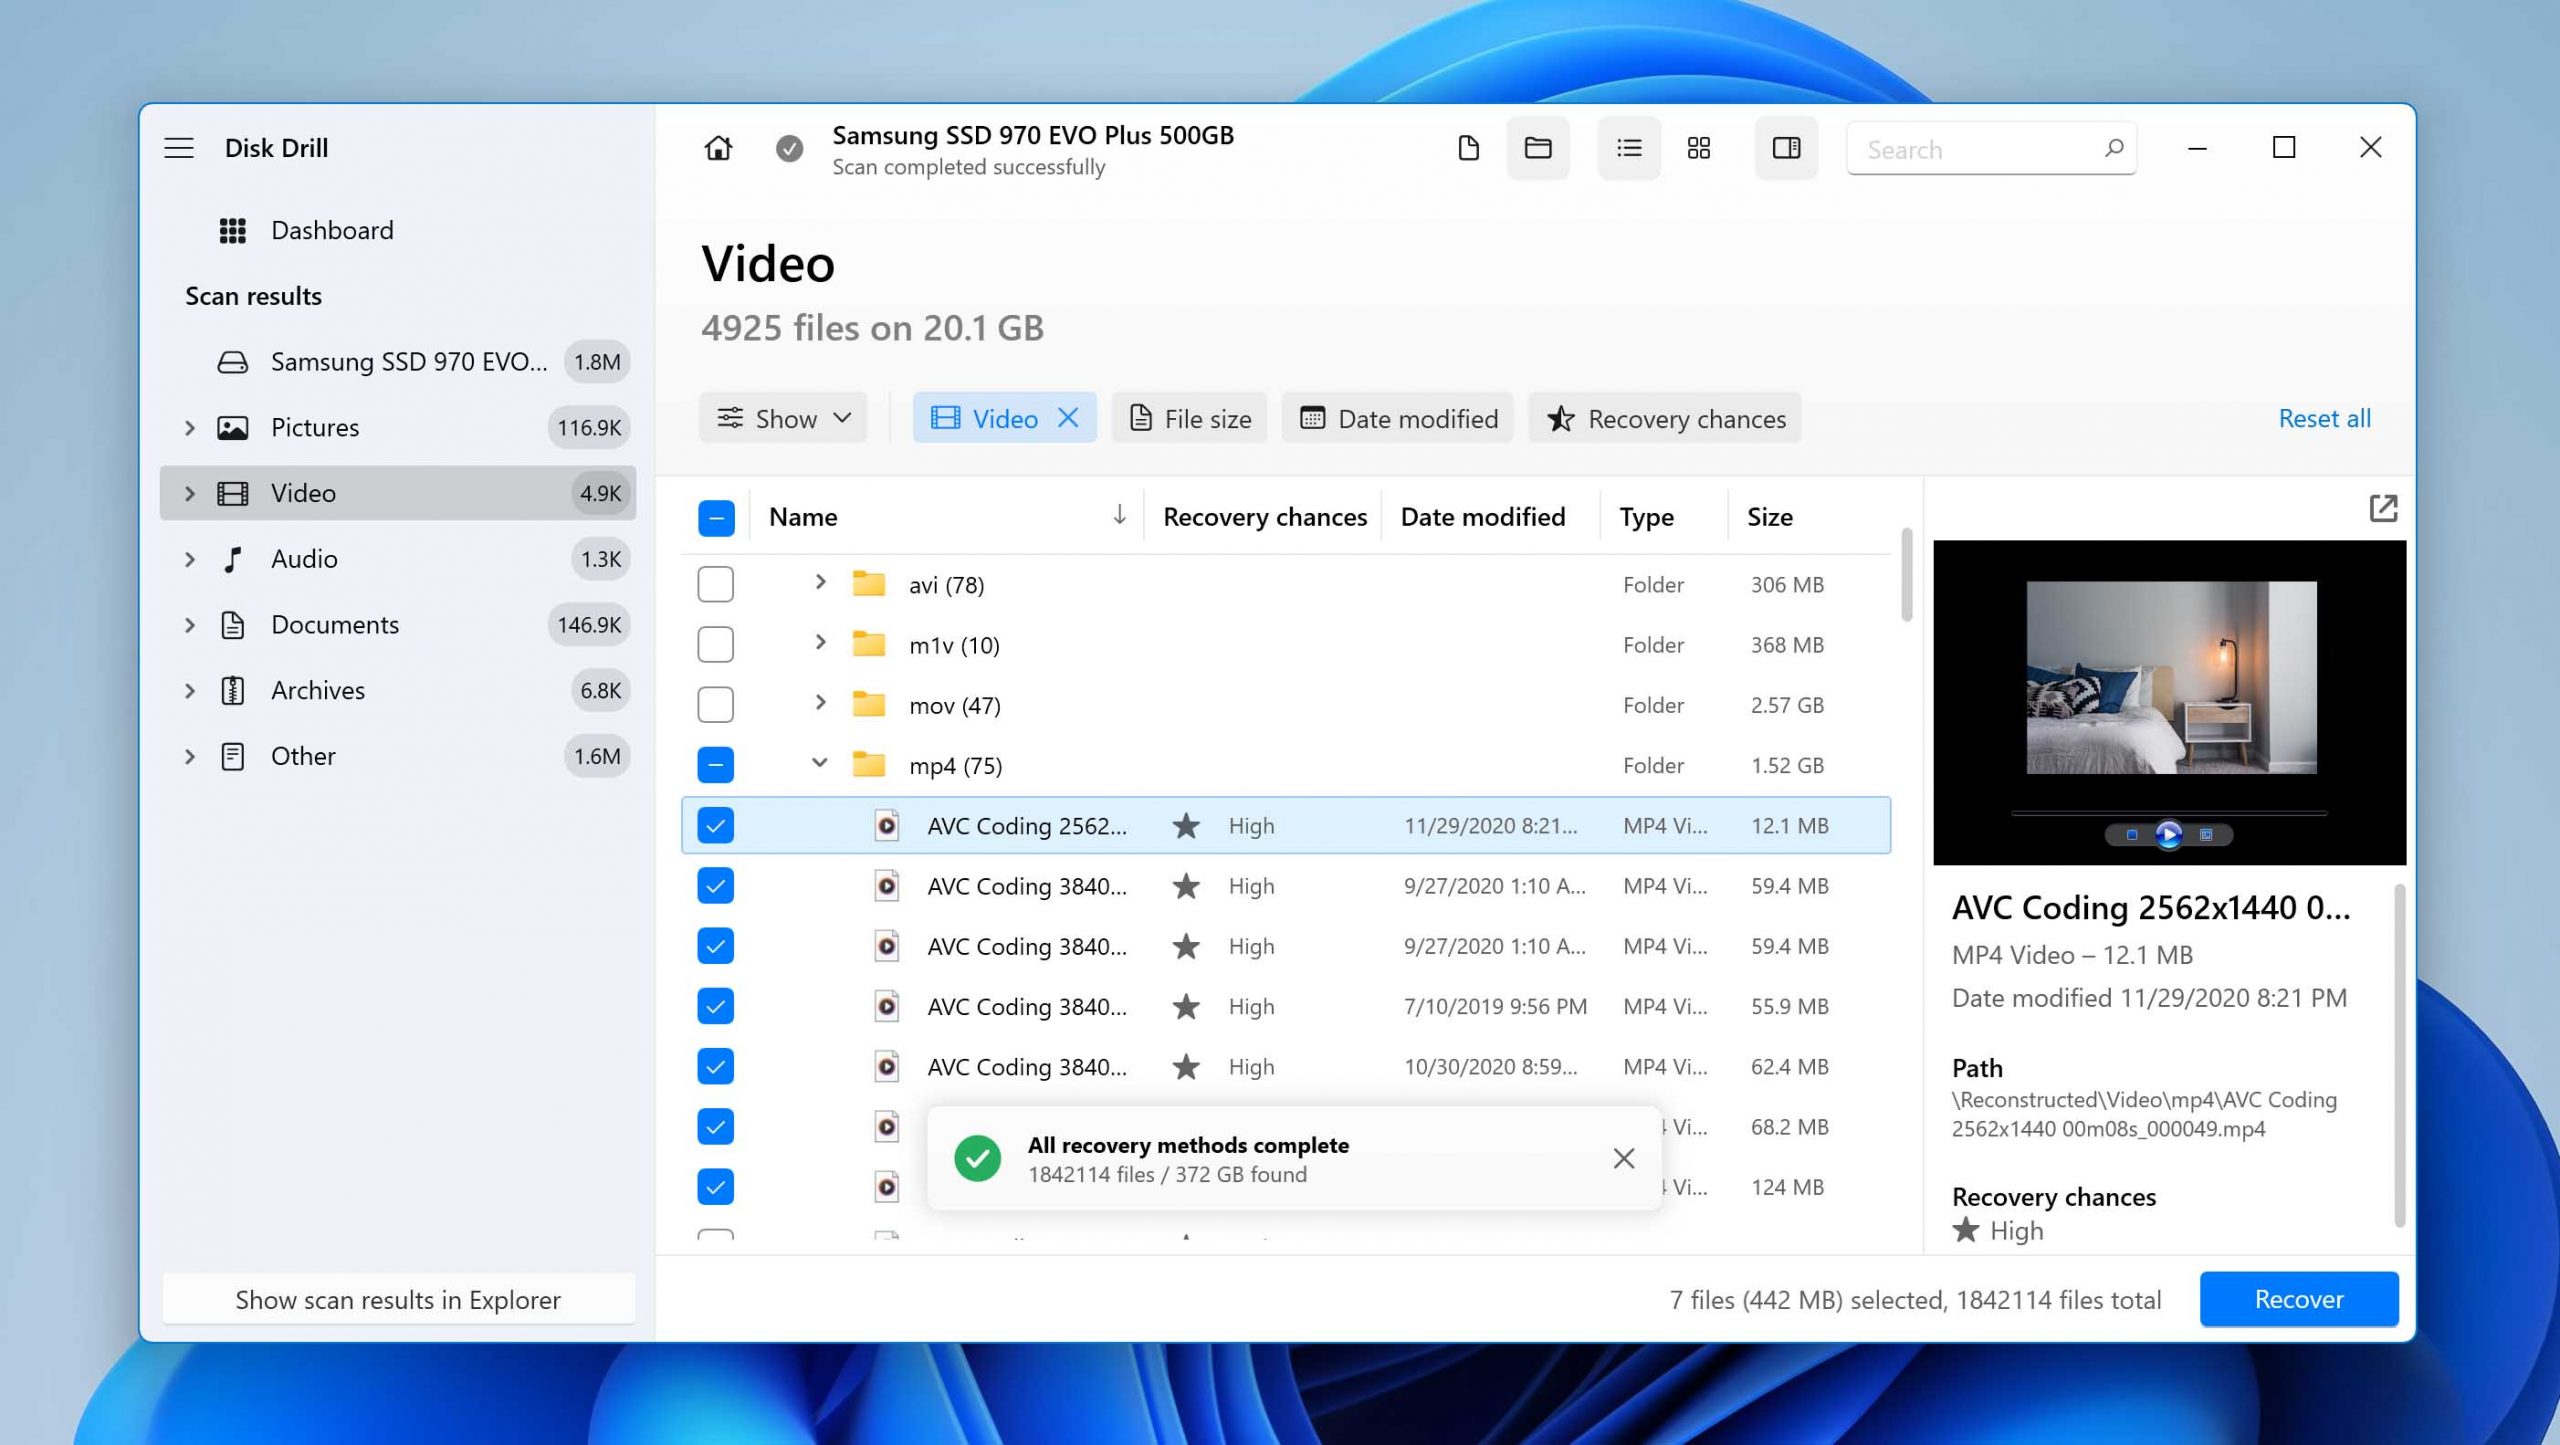
- Preview the recoverable files and select those you want to restore.
- Click the Recover button to complete the webcam video recovery.
Recuva
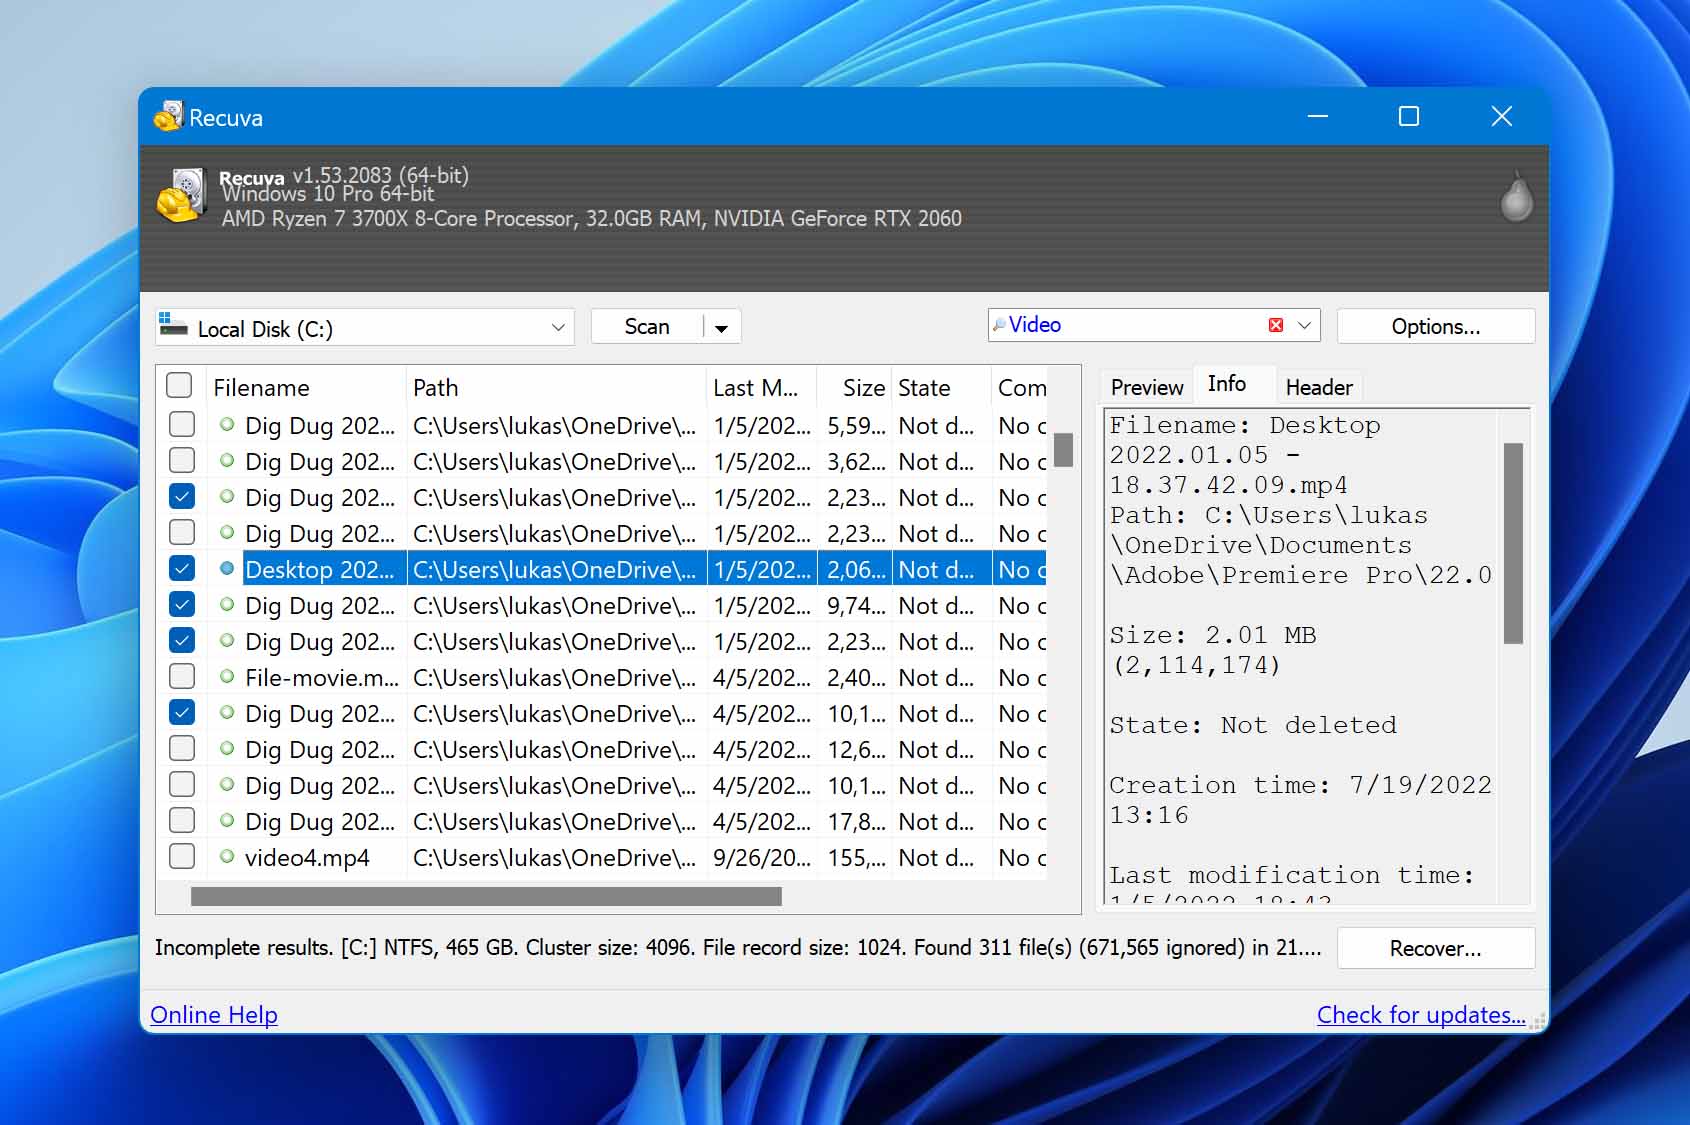
Recuva is a Windows-specific video recovery tool that offers a free and paid version. Webcam video recovery is possible with the free version of the software. Recuva’s interface resembles Windows Explorer so users should be able to navigate it easily. Paying customers get automatic updates and support for virtual drives. Unfortunately, this tool cannot be used on a Mac.
DiskGenius

DiskGenius is another webcam video recovery tool that runs on Windows computers. The tool includes advanced features that allow you to recover files deleted from a RAID array or virtual disks. Recovery is accomplished with a three-step process that scans for recoverable videos, previews the found files, and recovers them to a safe location.
Here’s some additional information on how to recover an SD card video if you have lost data from that type of external storage device. Video recovery software can get the data back as long as it has not been overwritten. Recovery software can also be used to recover deleted videos from digital cameras.
Recovering Deleted Videos Using an OS Backup Tool
Another way to recover lost or deleted webcam videos is by restoring them from a previously created backup. The key here is that you need to have created a backup that contains the deleted files.
Mac computers
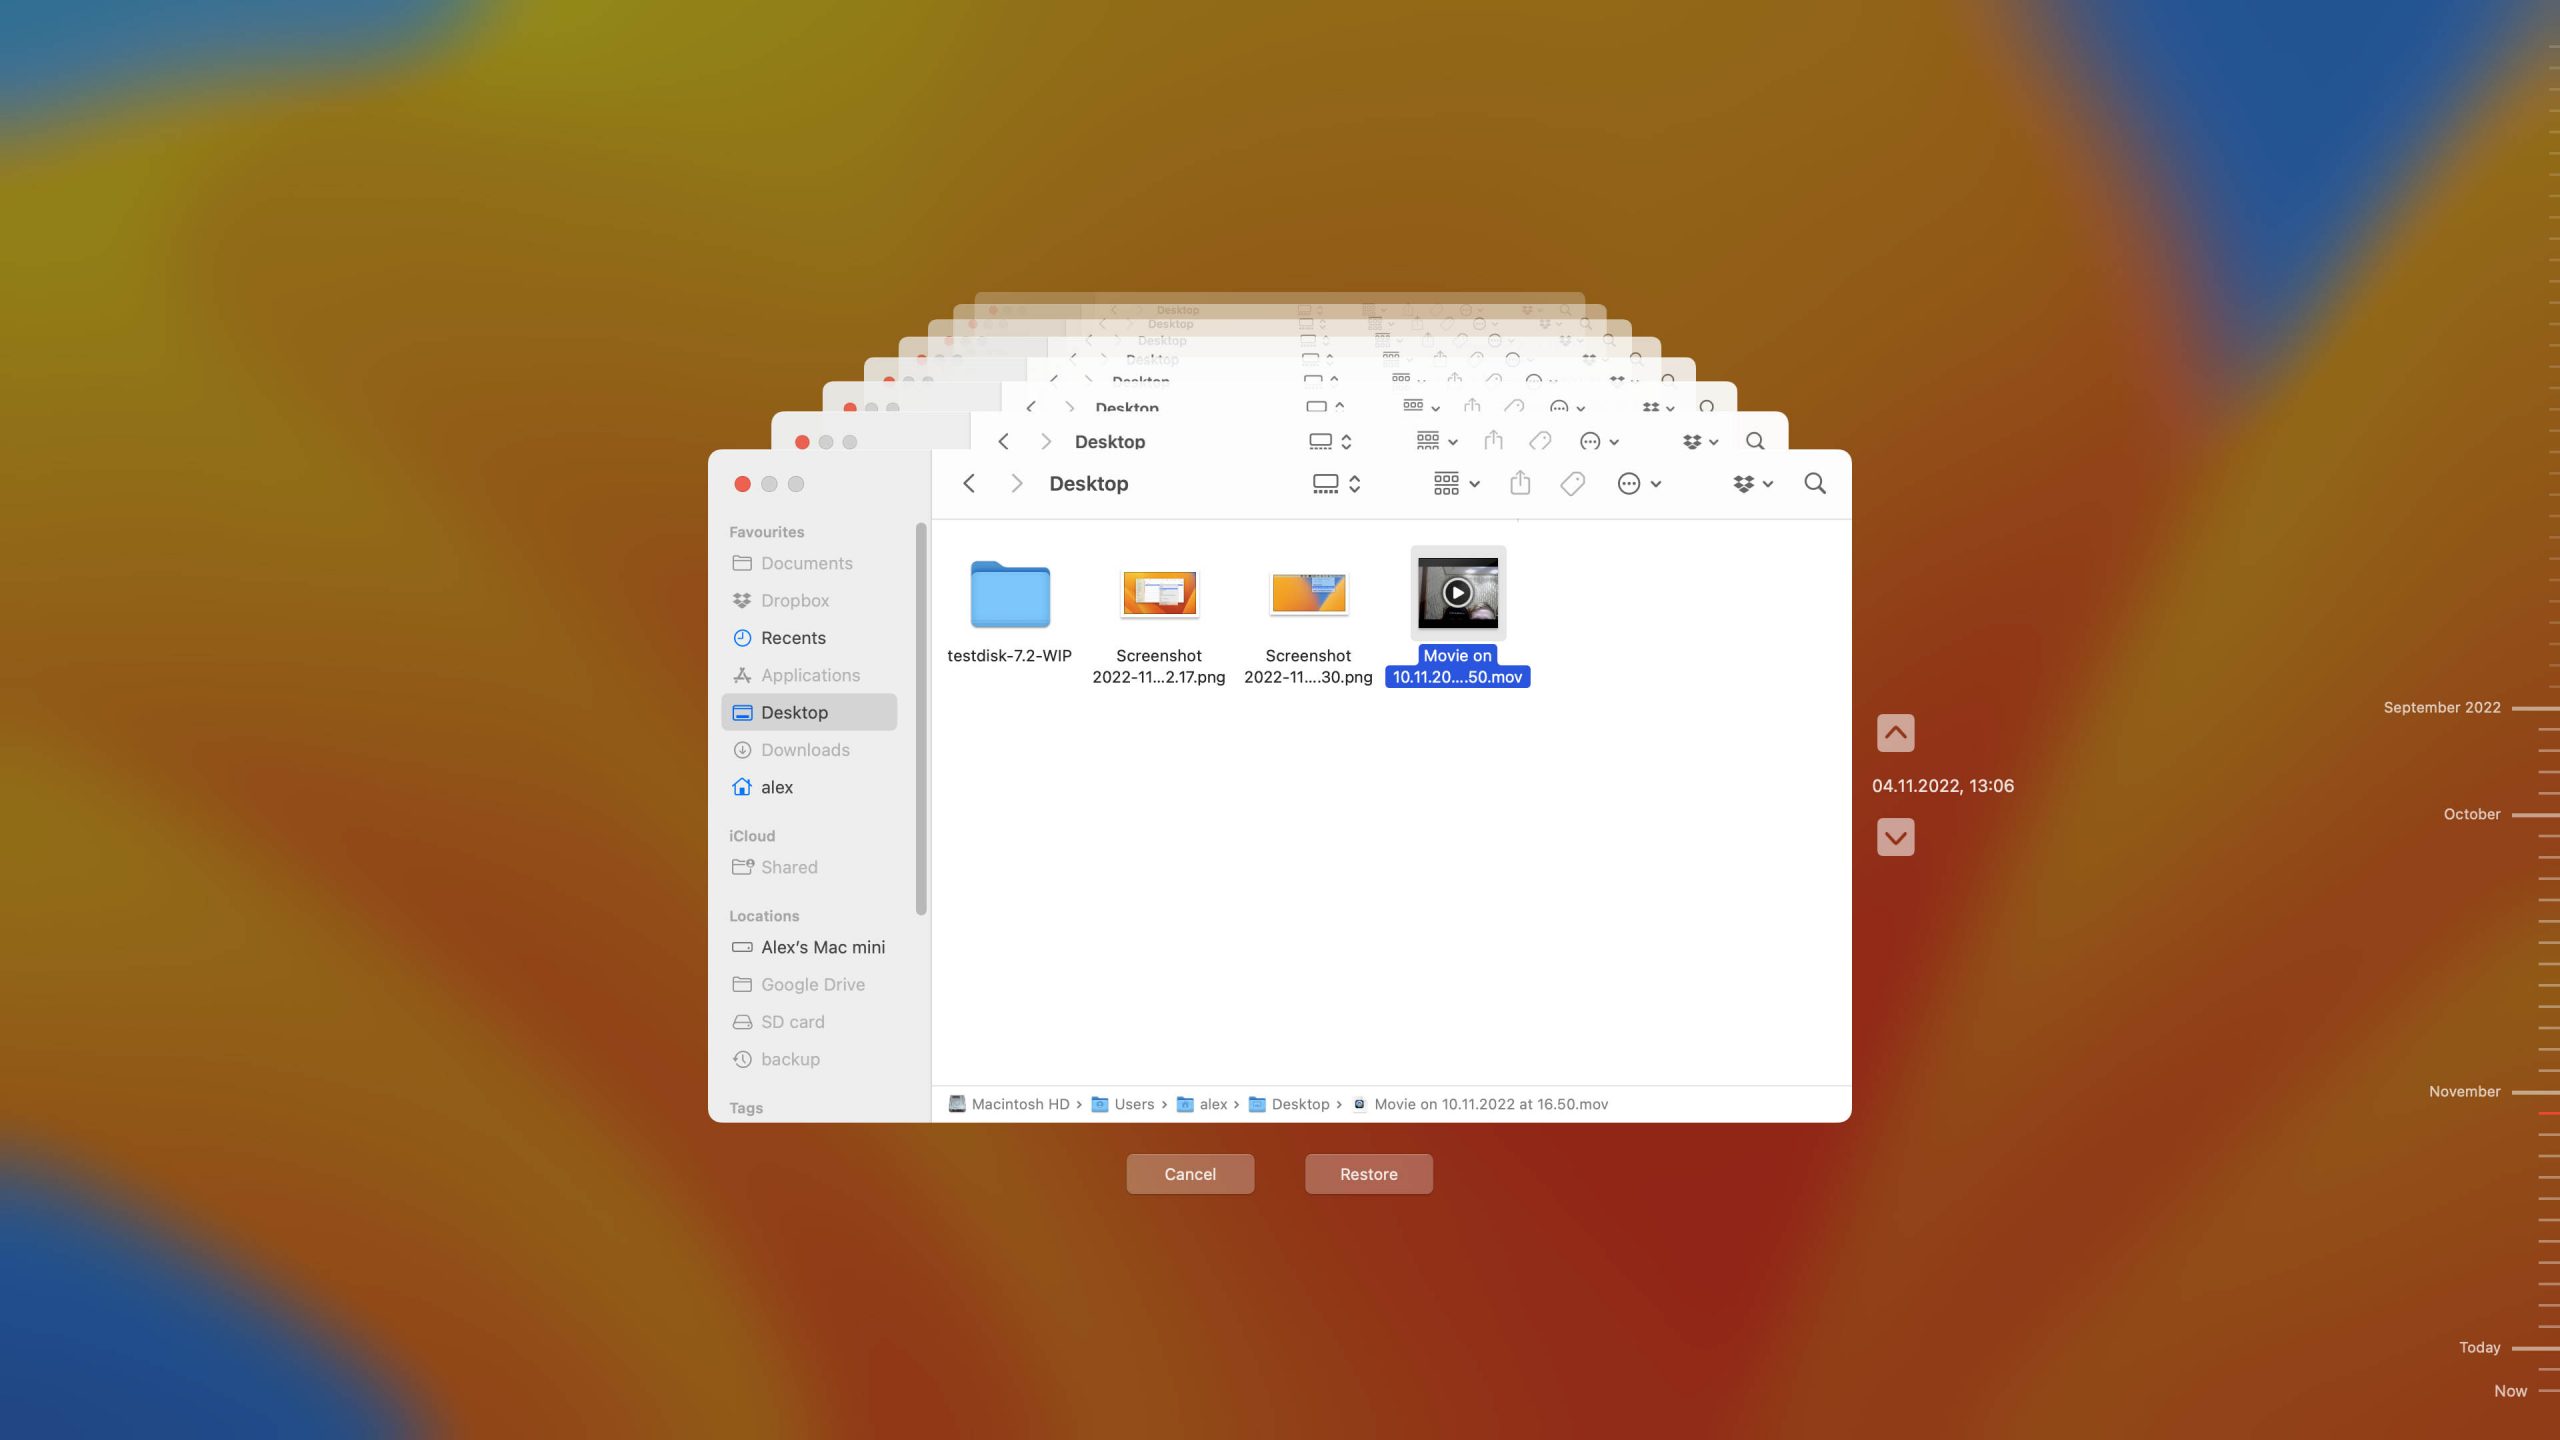
The macOS comes with a backup and recovery tool called Time Machine. If you have backed up the deleted videos, they can be recovered from a Time Machine backup with the following procedure.
- Connect the external storage device that contains the Time Machine backup files to your Mac.
- Open a Finder window in the folder where the video files were stored.
- Launch Time Machine by clicking its icon on the menu bar.
- Use Time Machine’s interface to find the video you want to retrieve.
- Select the item and click the Restore button to recover the video to its original location.
Windows machines
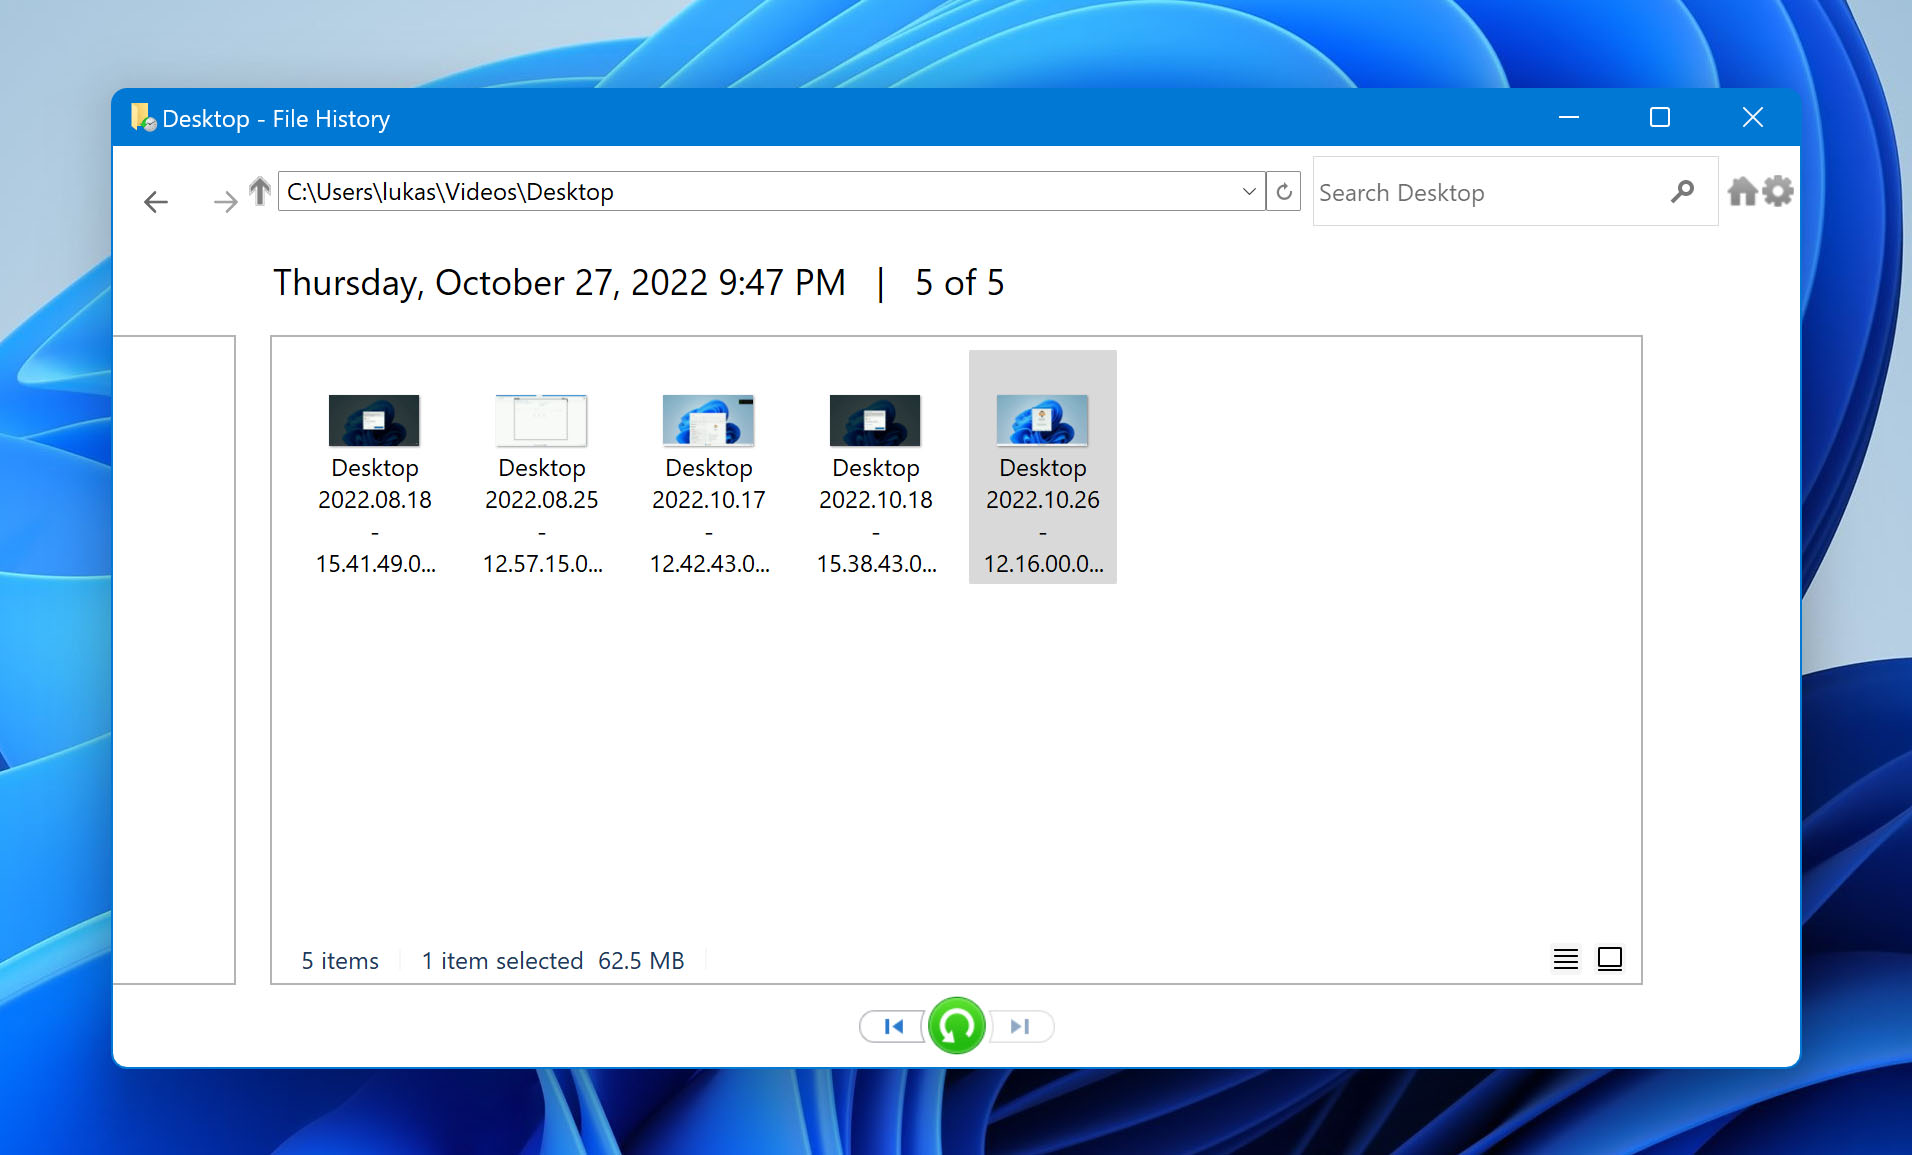
If you have activated the Windows File History backup and your backup contains the lost webcam videos, you can recover them using the following steps.
- Open Control Panel.
- Navigate to System and Security > File History > Restore Personal Files.
- Locate and select the videos you want to restore from the backup.
- Click the Restore button after making your selections.
The options we have presented for deleted video recovery should be capable of getting your lost files back. Good luck with your webcam video recovery!